


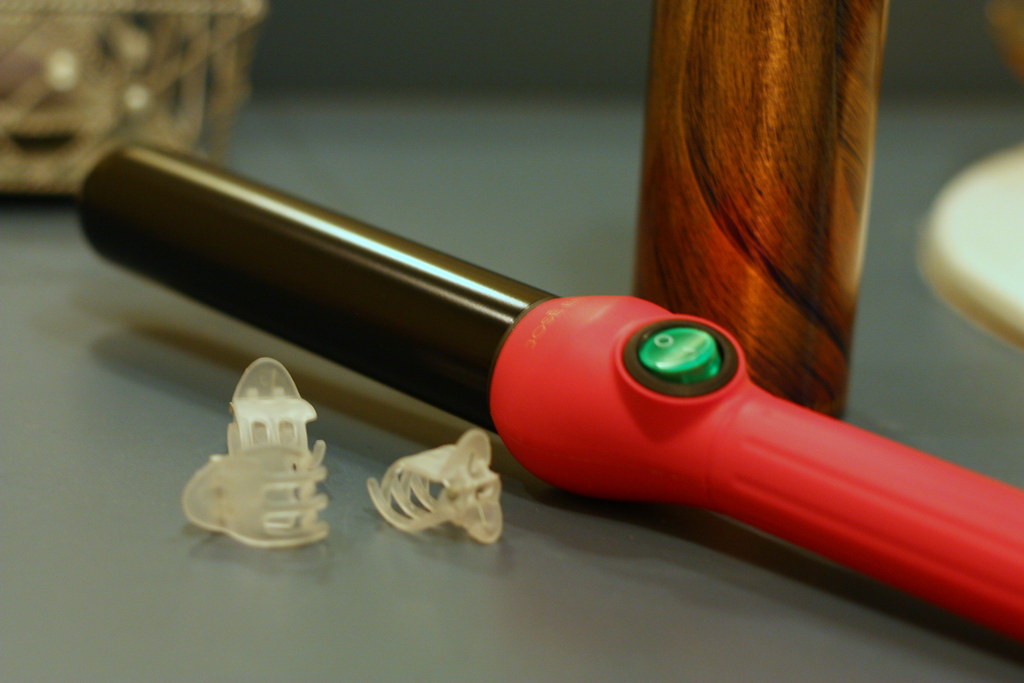
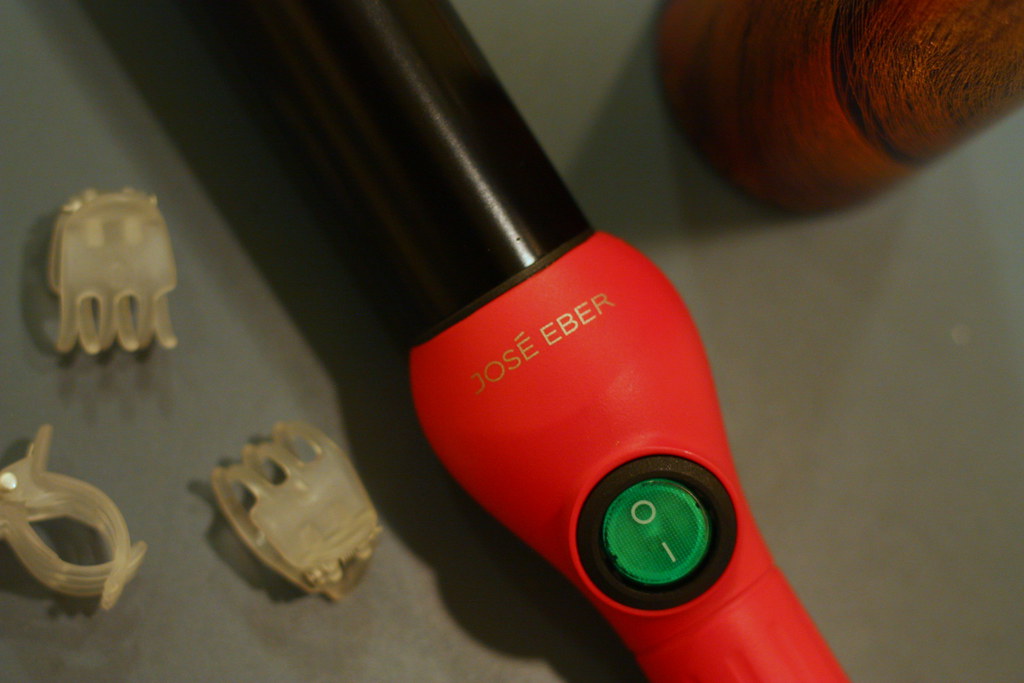
This whole process is actually relatively simple. And ever since the José Eber curling wand (c/o) came into my life, it's gotten even easier! (Fun fact: prior to this, I had been using an old curling iron that my husband had taken the clip off of for me. This wand is much longer and easier to use, however, so I highly recommend it!) I also want to note that I'm using the 32 mm wand, but you may want to invest in a smaller one depending on the length of your hair. I like looser waves so I wanted a bigger barrel!
So let's get started, shall we!?
1. Work a wave creating styling product through clean, damp hair. I used Oribe's Apres Beach Wave and Shine Spray, which is one of my new favorites because it sprays on easily and smells amazing. It's a bit on the pricey side, though, so I often switch off between that and Herbal Essences Tousle Me Softly Mousse (be sure you get #2!). Either will work great and many others will as well -- it just depends on your hair type. Ultimately, opt for something that keeps your hair soft, and avoid anything that's super sticky or that will give your hair a wet look (like gel).

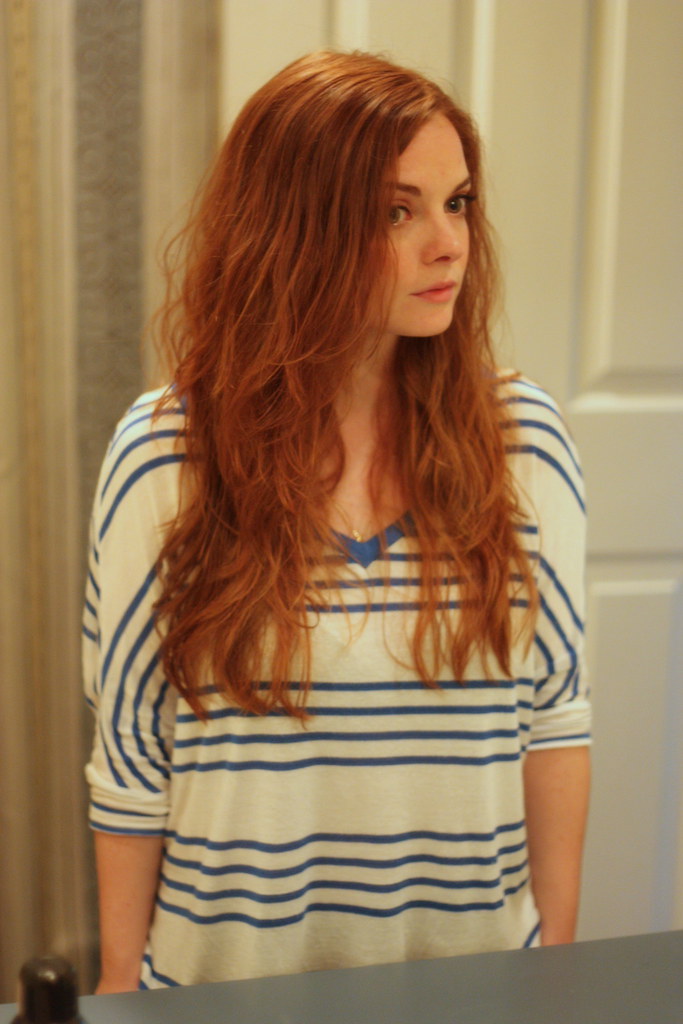
2. Dry your hair thoroughly. I like to use a hair dryer, but you can also let it air dry if you have the time (mine takes forever and I'm impatient haha). It's also makes your hair a bit softer rather than crunchy if you tousle it a bit while drying it. I tend to twist mine around my finger so that it doesn't get frizzy.
Side note: Most of the time, I stop after this step. It's super easy in the summer -- especially when it's hot -- and it takes way less time to get ready! But for the purpose of this tutorial, we're obviously going to keep going :)
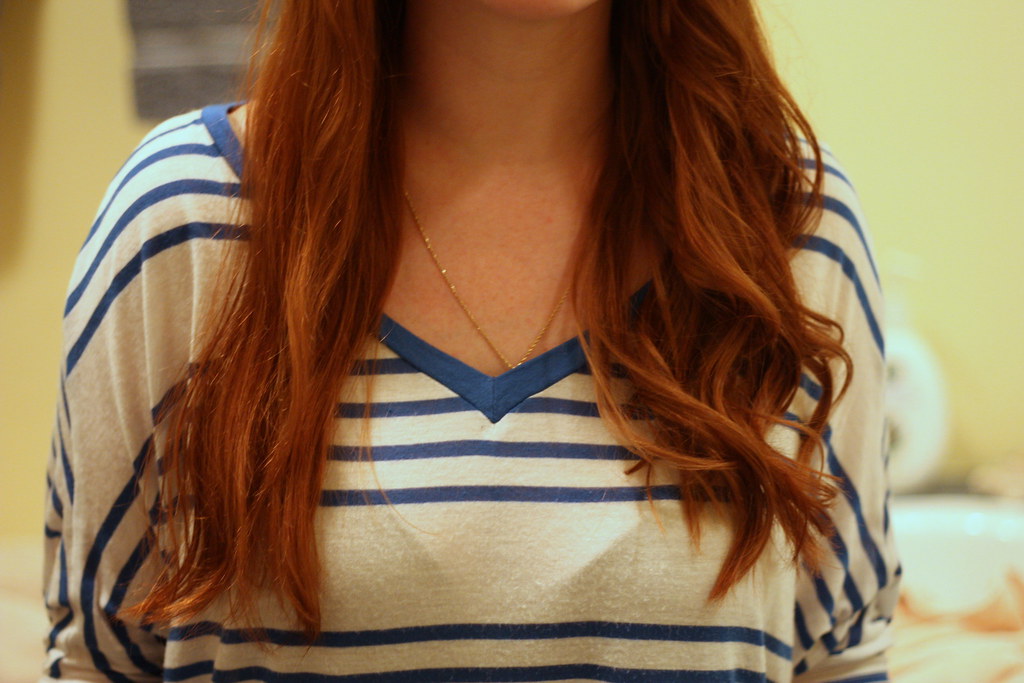
3. Lightly brush out your hair -- just enough so that it creates a soft, loose, almost retro wave.
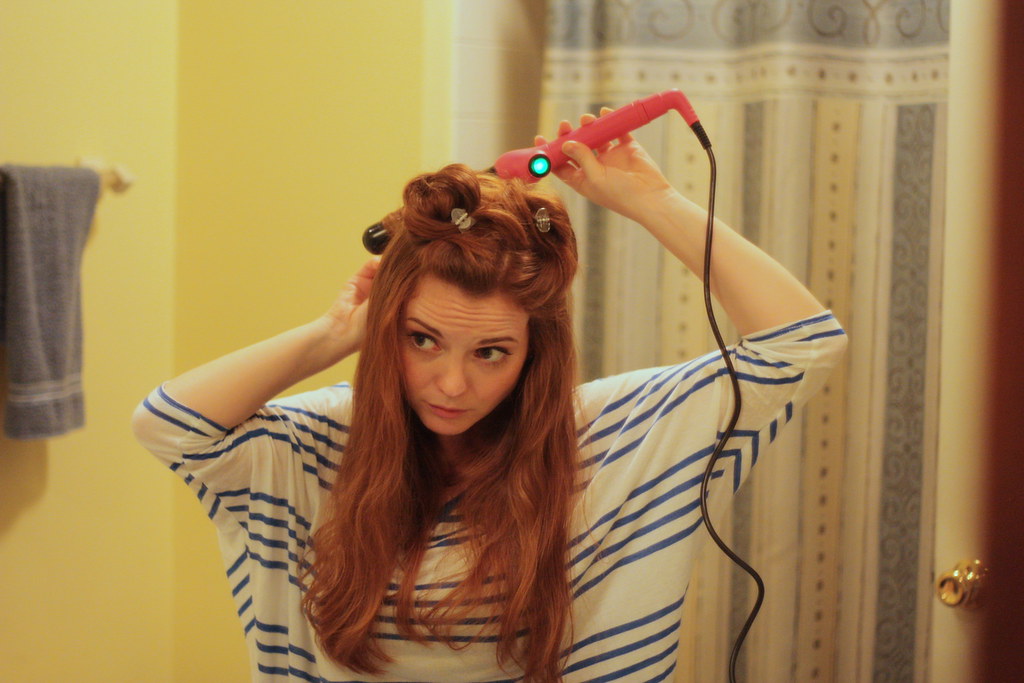
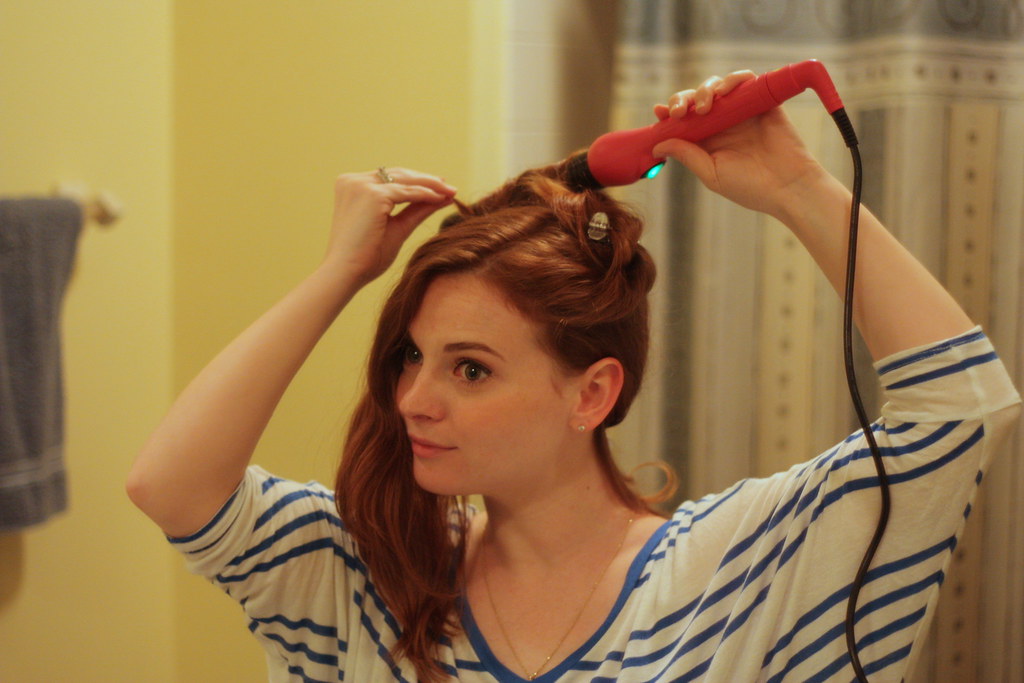
4. Depending on your hair length and ability to get your arms in strange positions, this next part is totally up to you. Since I'm not super flexible, I like to split my hair in half, and then divide each side in a top and bottom section so that it's easy to get to. Pin up the top halves and pick a side to start on.
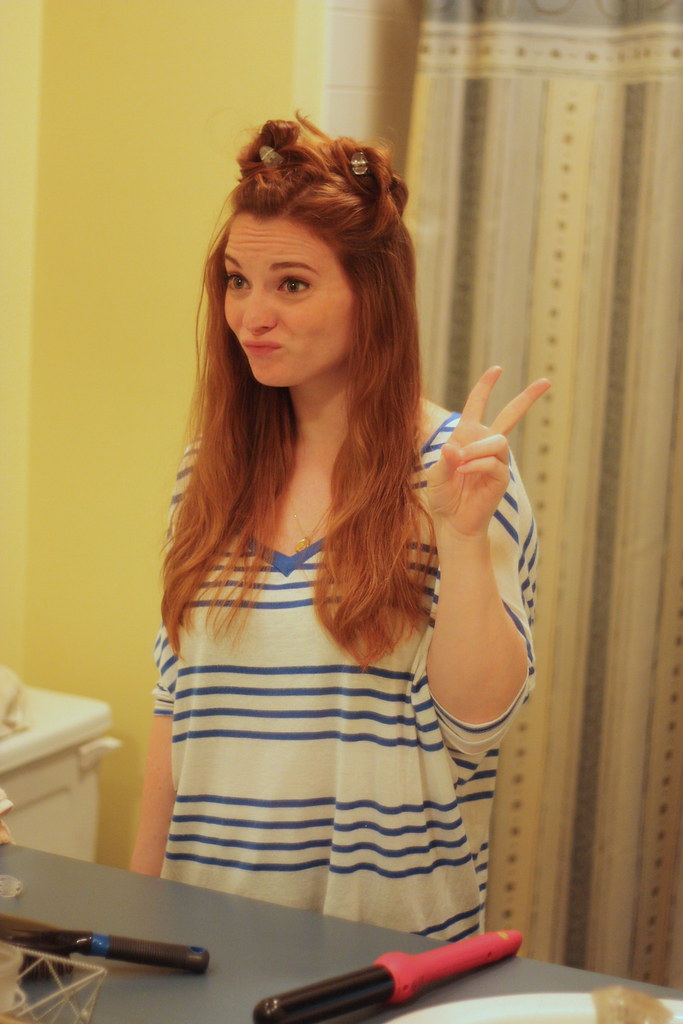
(Super glamorous, right? Ha!)
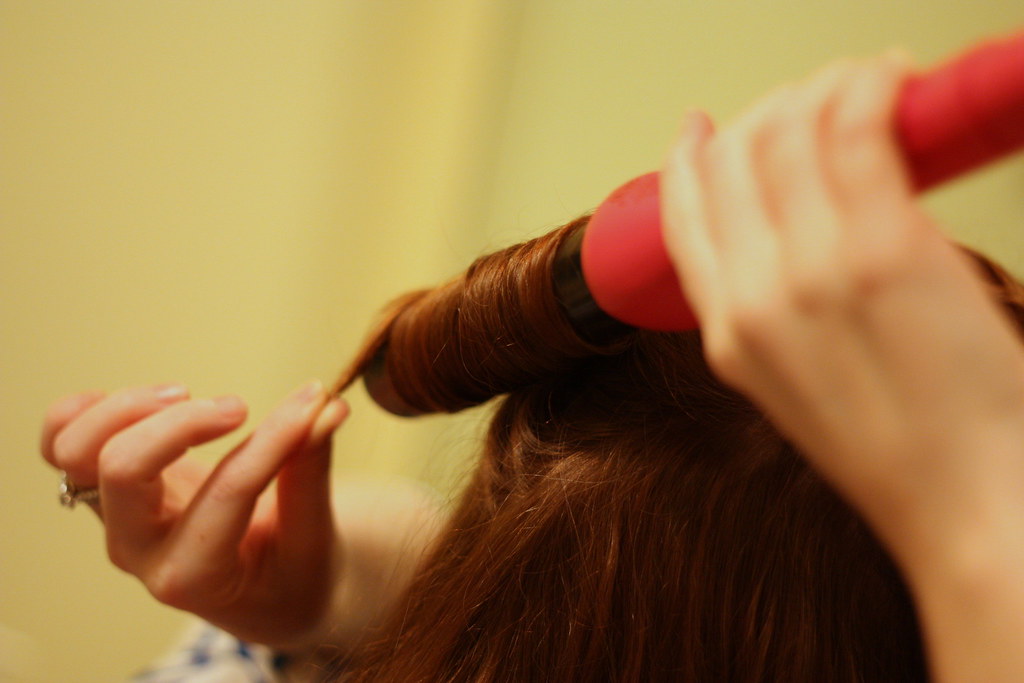
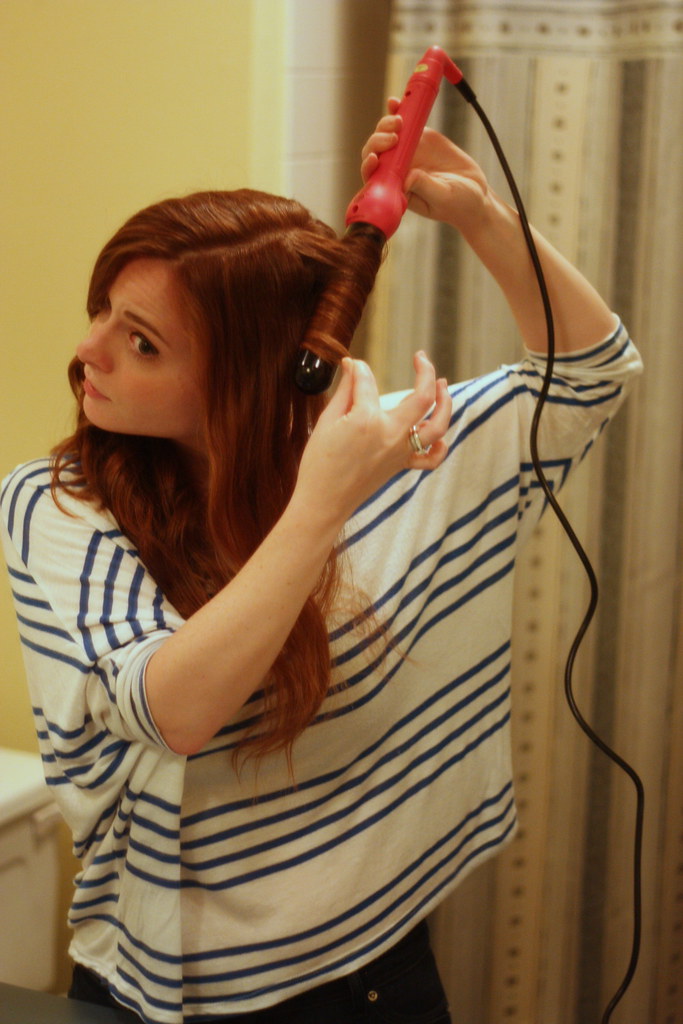
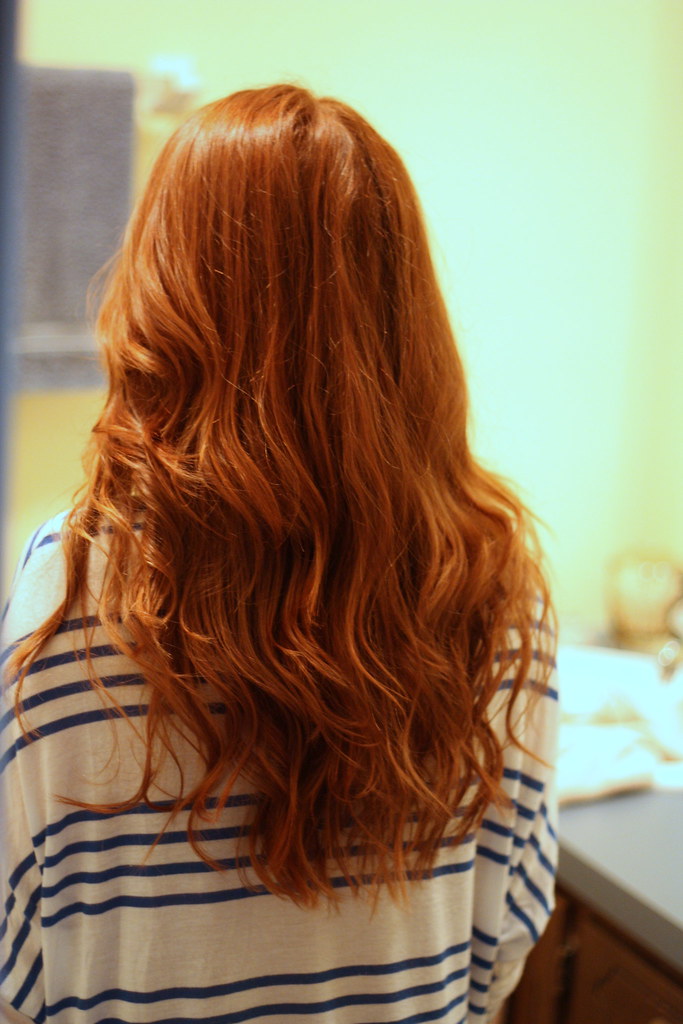
5. It's time to start curling! I find it easier to work my way from back to front, and make sure to wrap the hair away from your face. I'm so much better at doing my left side since I'm right handed, but do the best you can. The point of this look is to be a little unkempt, so it doesn't have to be perfect. And don't worry about getting sections of hair that are all the same size, as long as it all gets curled!
(One side curled)
(Both sides curled)
6. After you've done the bottom half, unclip one side of the top and, again, work your way from back to front. Curl both sides.
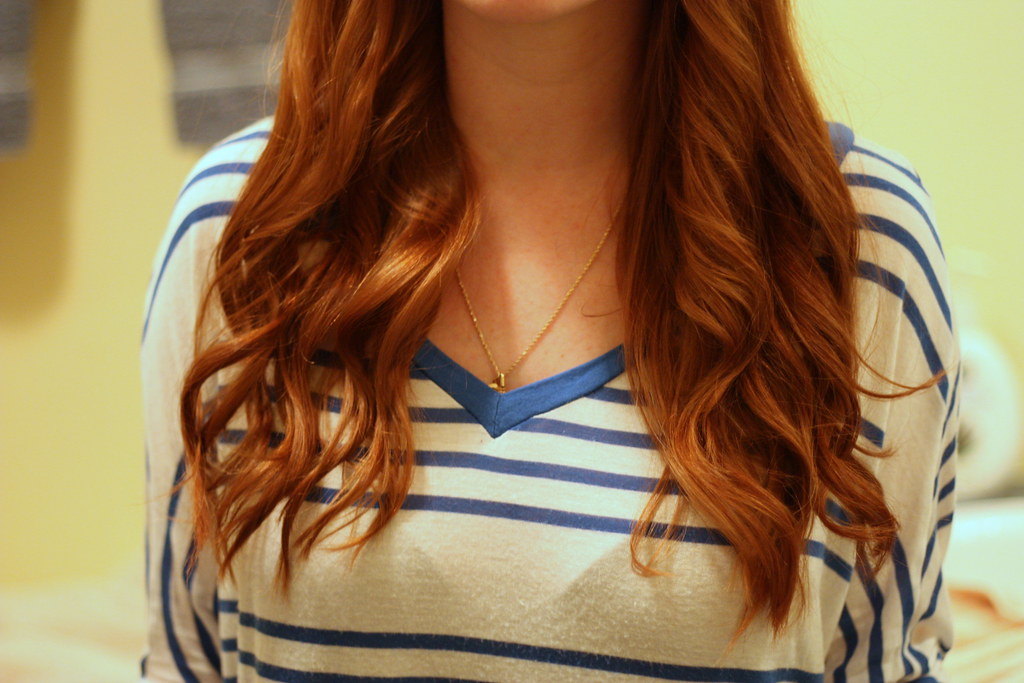
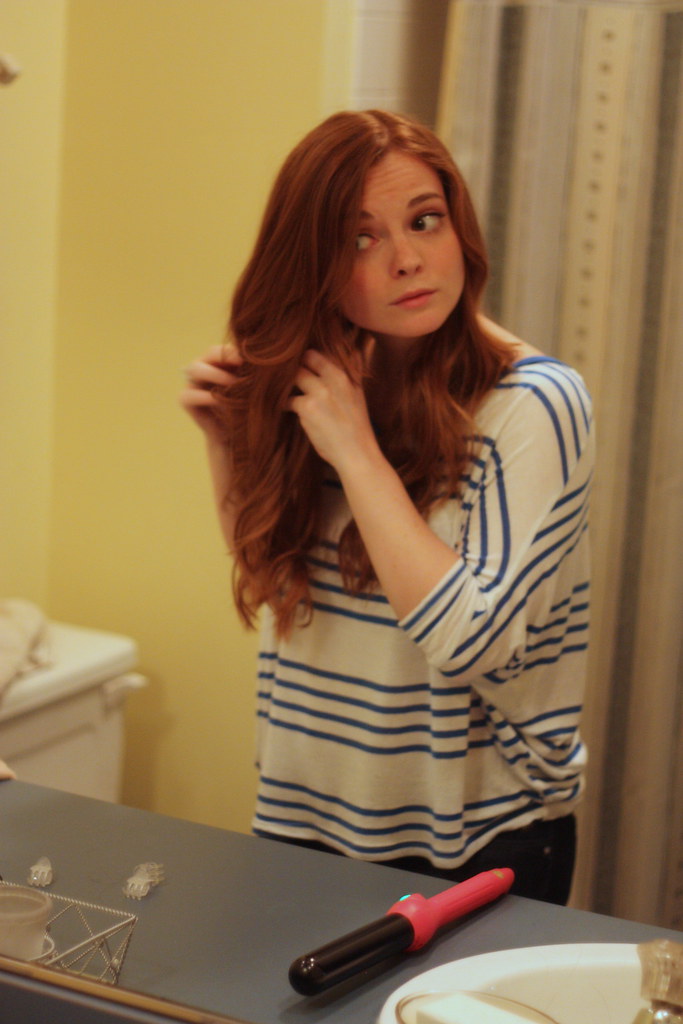
7. You're just about done! After curling all your hair, run your fingers through it to separate the pieces, flip your head upside down a few times, shake it out and voila! I don't usually add any product after this, but feel free to add some flexible hold hairspray or shine mist if your hair needs it. (These products usually make my curls fall out because my hair is cray, so I try to keep it as product-free as possible.)
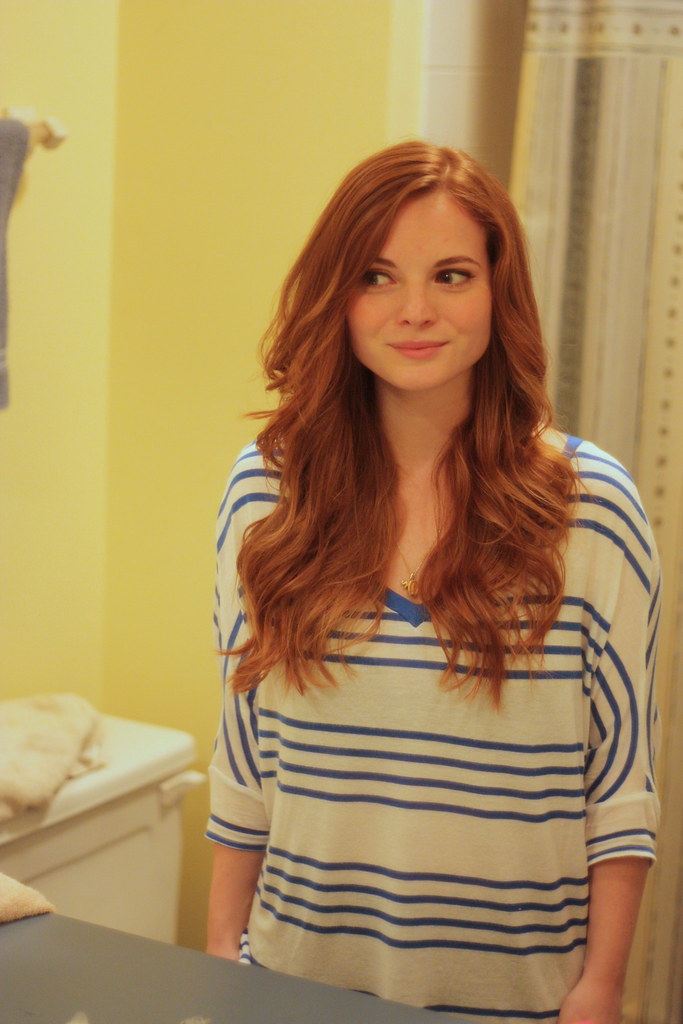
And there you have it! Nothing too complicated, right? If you're not familiar with a curling wand, it may take you a little while to get used to it, but I promise that after a few times you'll be a pro!

Oh, and because I'd love for you to be able to try the José Eber curling wand for yourself, they've generously offered Chain Strap Purse readers 15% off with the code PURSE15! It applies to any of their products including hair dryers, flat irons and curling wands so that you can make sure you pick something you love!
Good luck with trying this out and feel free to let me know if you have any questions via the comments below, e-mail, Twitter, Facebook or Instagram!
XO,
Alison


Gorgeous! I told Santa I wanted one for Xmas...let's hope he listened!
ReplyDeletexoxo
Cathy, your Poor Little It Girl
http://poorlittleitgirl.com
Your hair looks gorgeous!!! I have been dying to try that curling wand, I hear such great things about it!
ReplyDeleteI need to bite the proverbial bullet and invest in one of these. My hair is too long for my curling iron so it takes twice as long to put a simple curl in my hair! Your hair always looks amazing so whatever you're doing is clearly working :)
ReplyDeletehttp://jax-and-jewels.blogspot.com
you're so adorable! :)
ReplyDeleteXO Sahra
EffortlessCool
I have a Jose Eber curling wand and absolutely love it too!
ReplyDeleteGorgeous!!! Can you just come over and do my hair for me? lol
ReplyDeleteAlissa
FeelingGoodStyle.com
Great tutorial! I have eyeballing that bad boy for awhile...maybe it's a good excuse to grow my hair out ;)
ReplyDeletethis looks so cute and you do make it seem so easy! i want my long hair back now so i can try it out...
ReplyDeletexo
lauren
www.annacroswell.com
I need this in my life! I keep seeing bloggers rave about the Jose Eber curling wand. I use my regular old curling iron with the clip in the "open" position, but I like the idea of removing it all together! Until I can get my hands on the real thing, of course!
ReplyDelete~Madeline @stylemethrifty
Love how your hair looks girl! I wish I could do this all the time - I have no patience!
ReplyDelete